Send: amount and confirmation
Set the amount and how the beneficiary receives it. Nothing leaves your account before you Confirm.
- Where: Opens when you pick a recipient on Send, or choose Send on a beneficiary in Beneficiaries.
- Who can use it: the account administrator and accesses allowed to send.
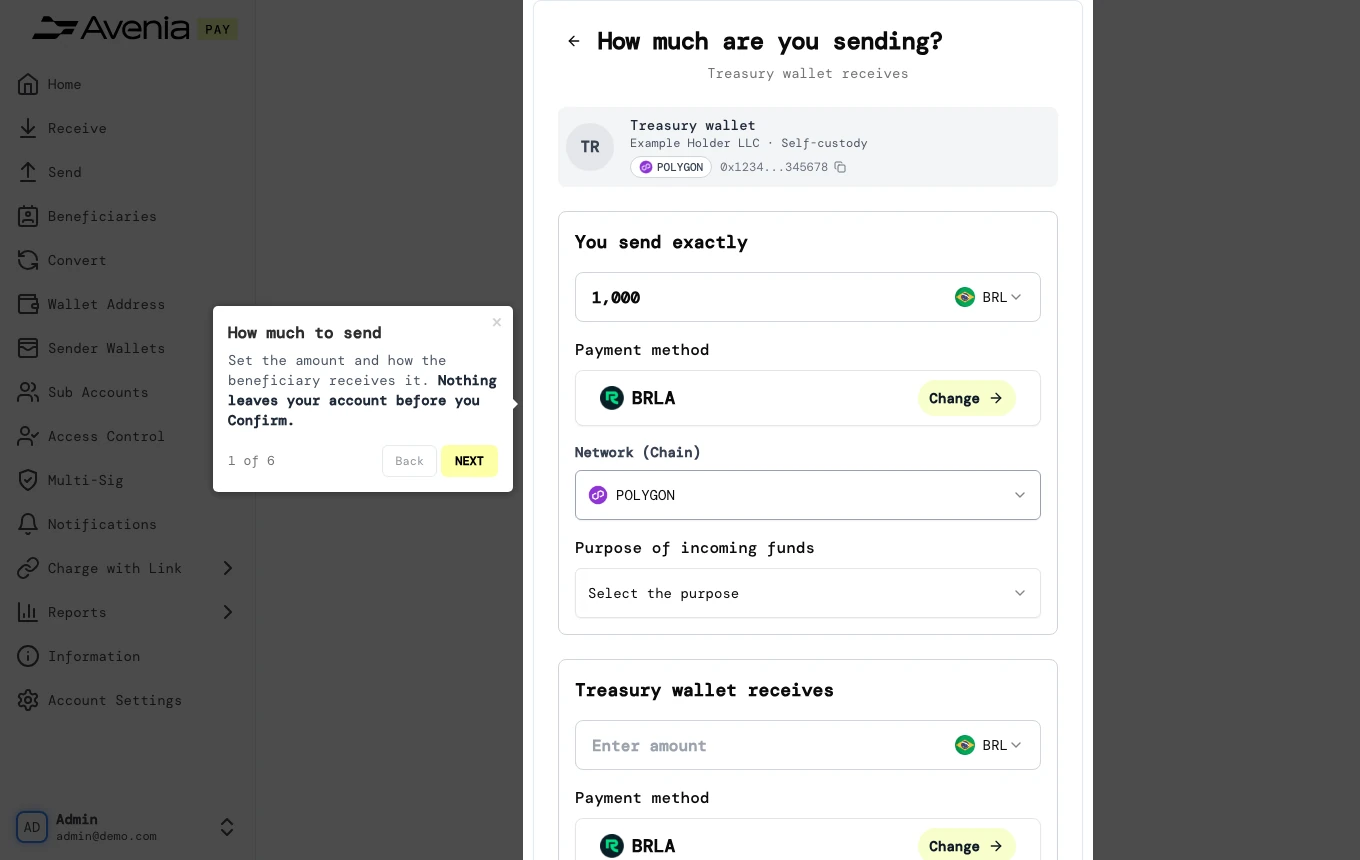
Step by step
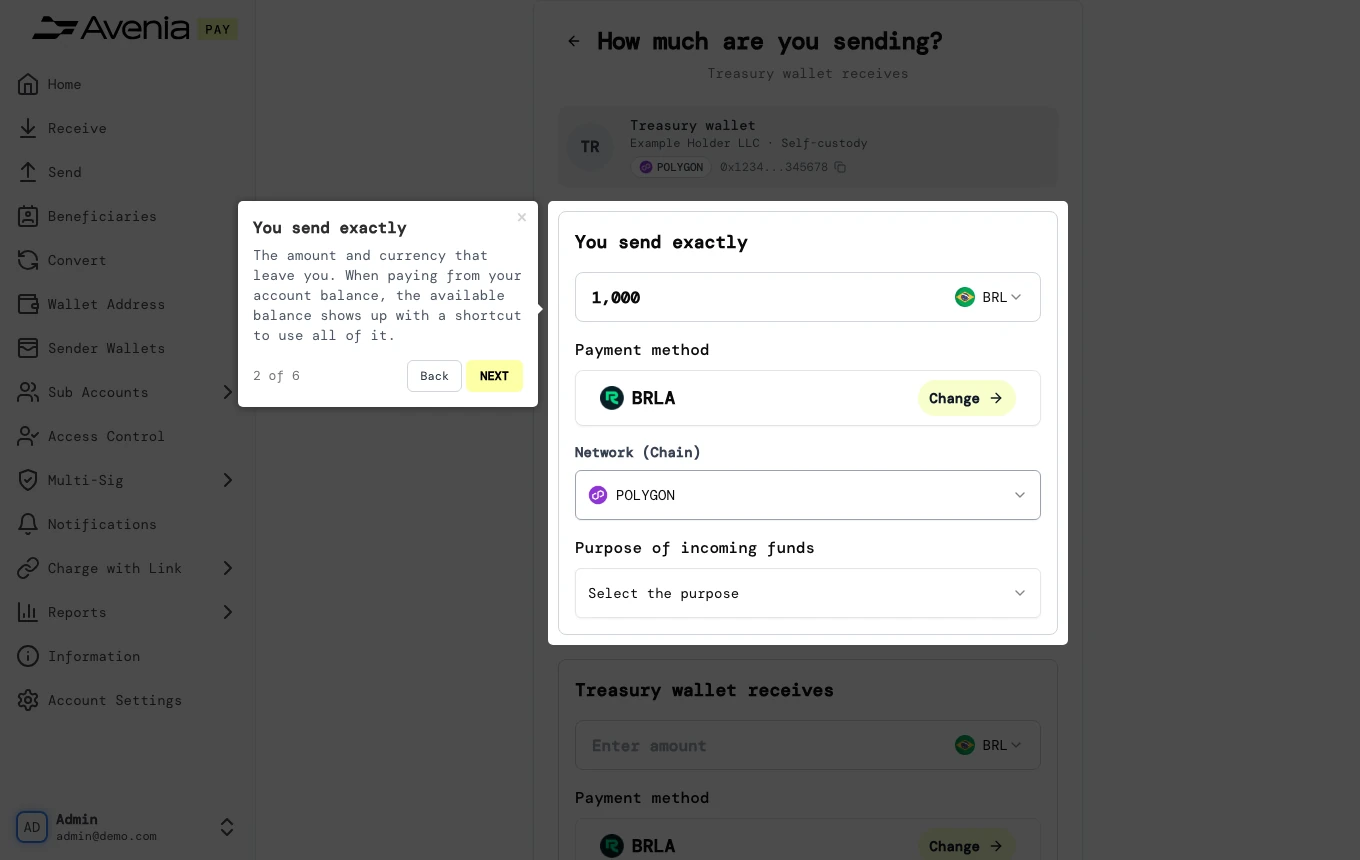
1. You send exactly
The amount and currency that leave you. When paying from your account balance, the available balance shows up with a shortcut to use all of it.
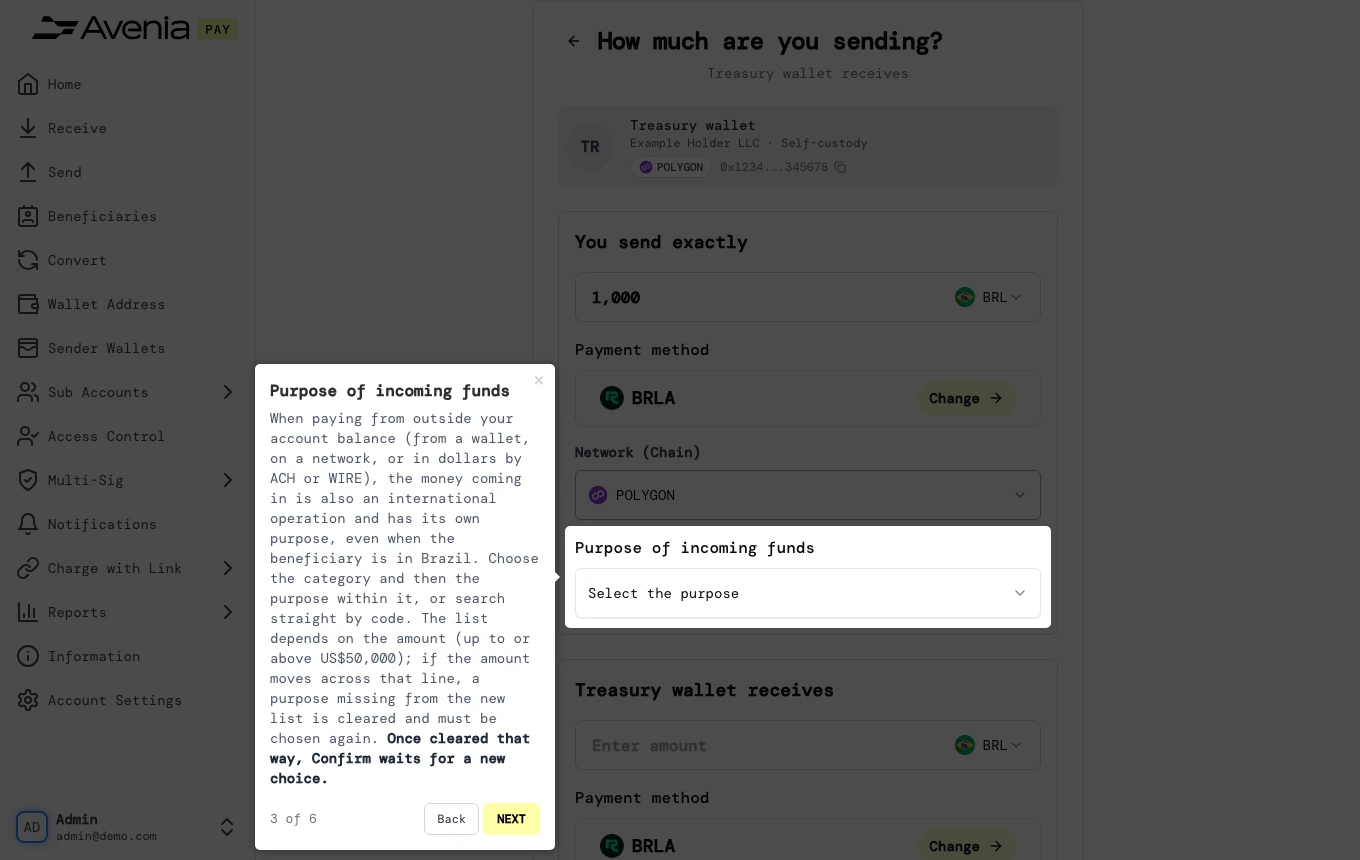
2. Purpose of incoming funds
When paying from outside your account balance (from a wallet, on a network, or in dollars by ACH or WIRE), the money coming in is also an international operation and has its own purpose, even when the beneficiary is in Brazil. Choose the category and then the purpose within it, or search straight by code. The list depends on the amount (up to or above US$50,000); if the amount moves across that line, a purpose missing from the new list is cleared and must be chosen again. Once cleared that way, Confirm waits for a new choice.
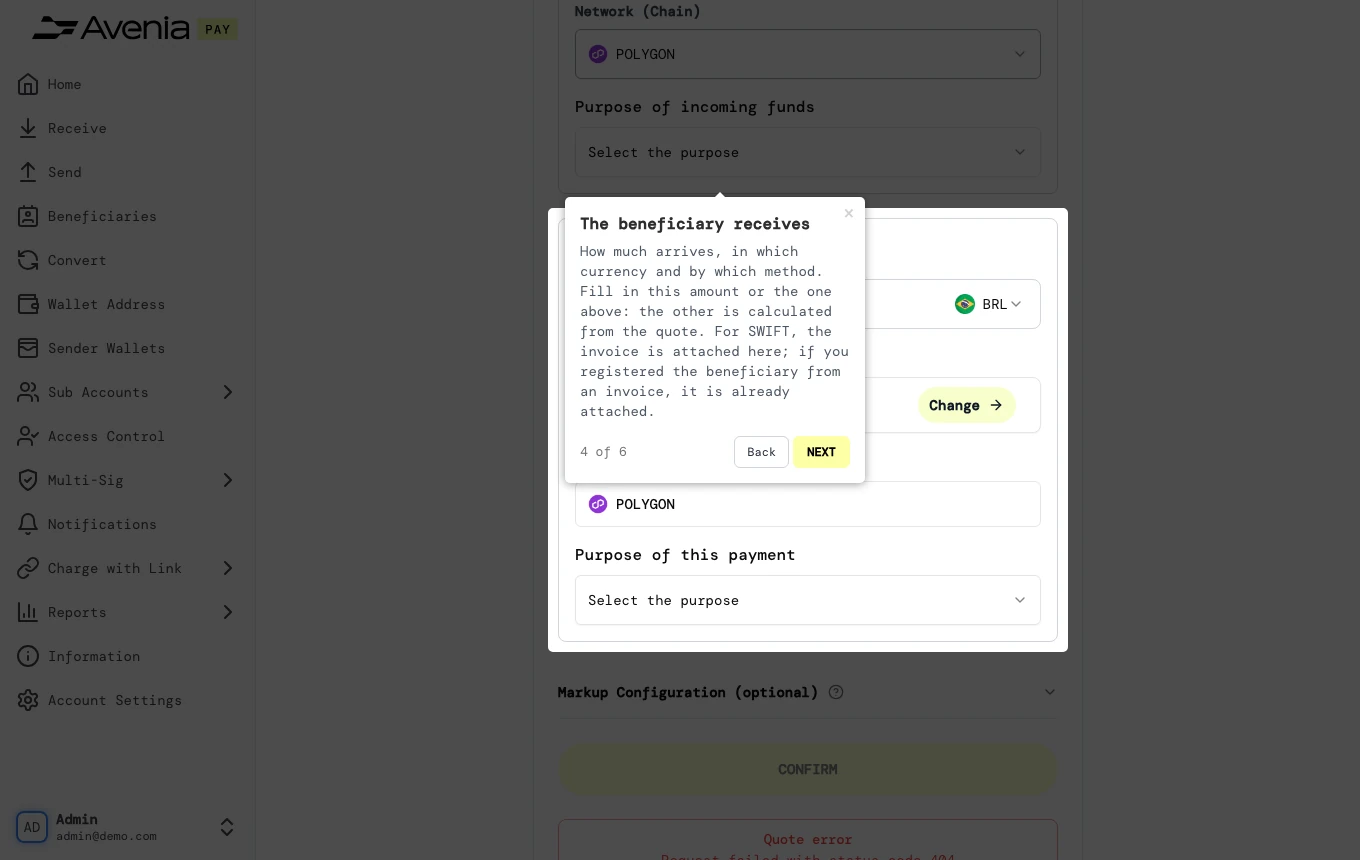
3. The beneficiary receives
How much arrives, in which currency and by which method. Fill in this amount or the one above: the other is calculated from the quote. For SWIFT, the invoice is attached here; if you registered the beneficiary from an invoice, it is already attached.
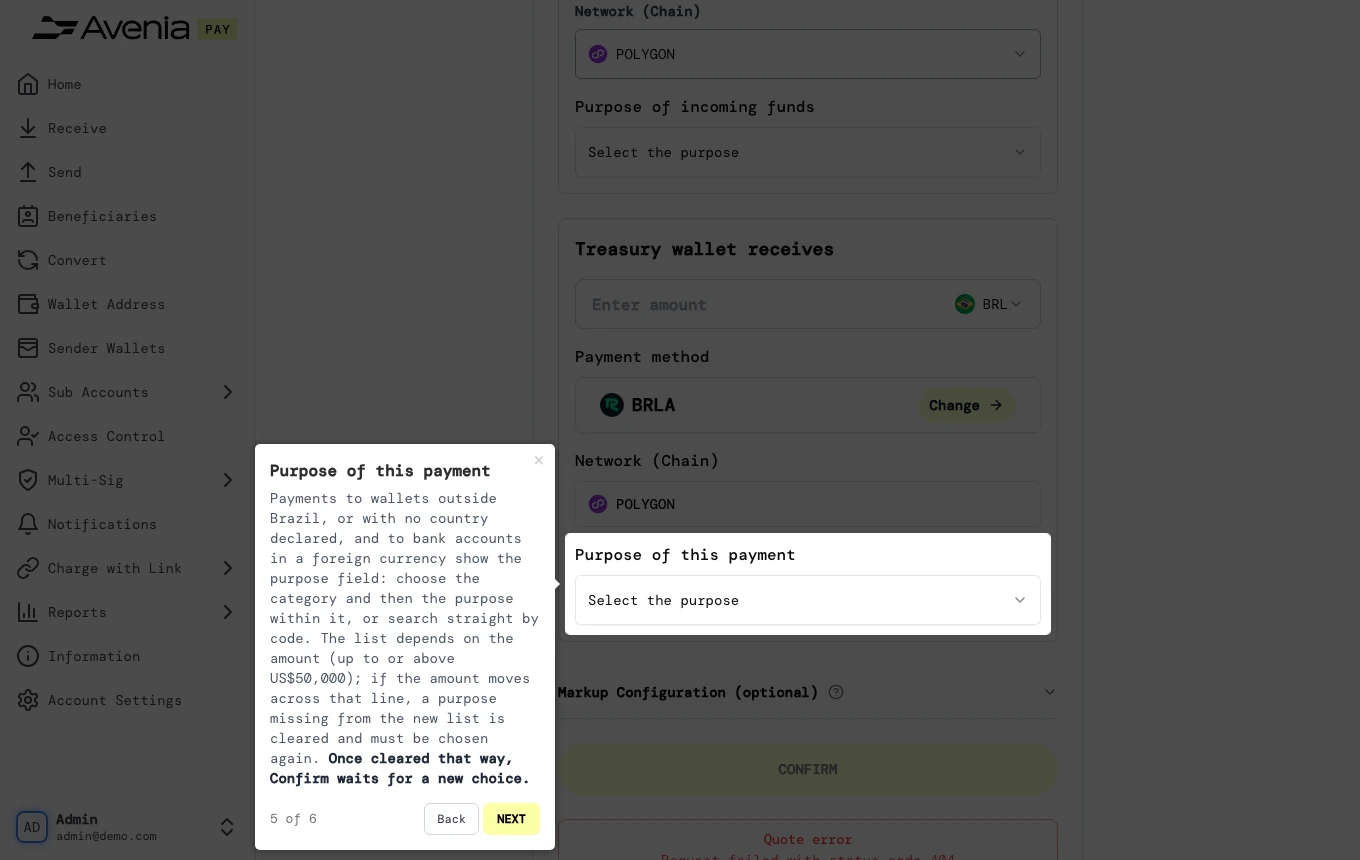
4. Purpose of this payment
Payments to wallets outside Brazil, or with no country declared, and to bank accounts in a foreign currency show the purpose field: choose the category and then the purpose within it, or search straight by code. The list depends on the amount (up to or above US$50,000); if the amount moves across that line, a purpose missing from the new list is cleared and must be chosen again. Once cleared that way, Confirm waits for a new choice.
5. Confirm
Sends with the latest quote, fetched when you click; fees are shown right below. If the invoice shows different bank details than the selected beneficiary, you must confirm that you want to pay the registered beneficiary first.
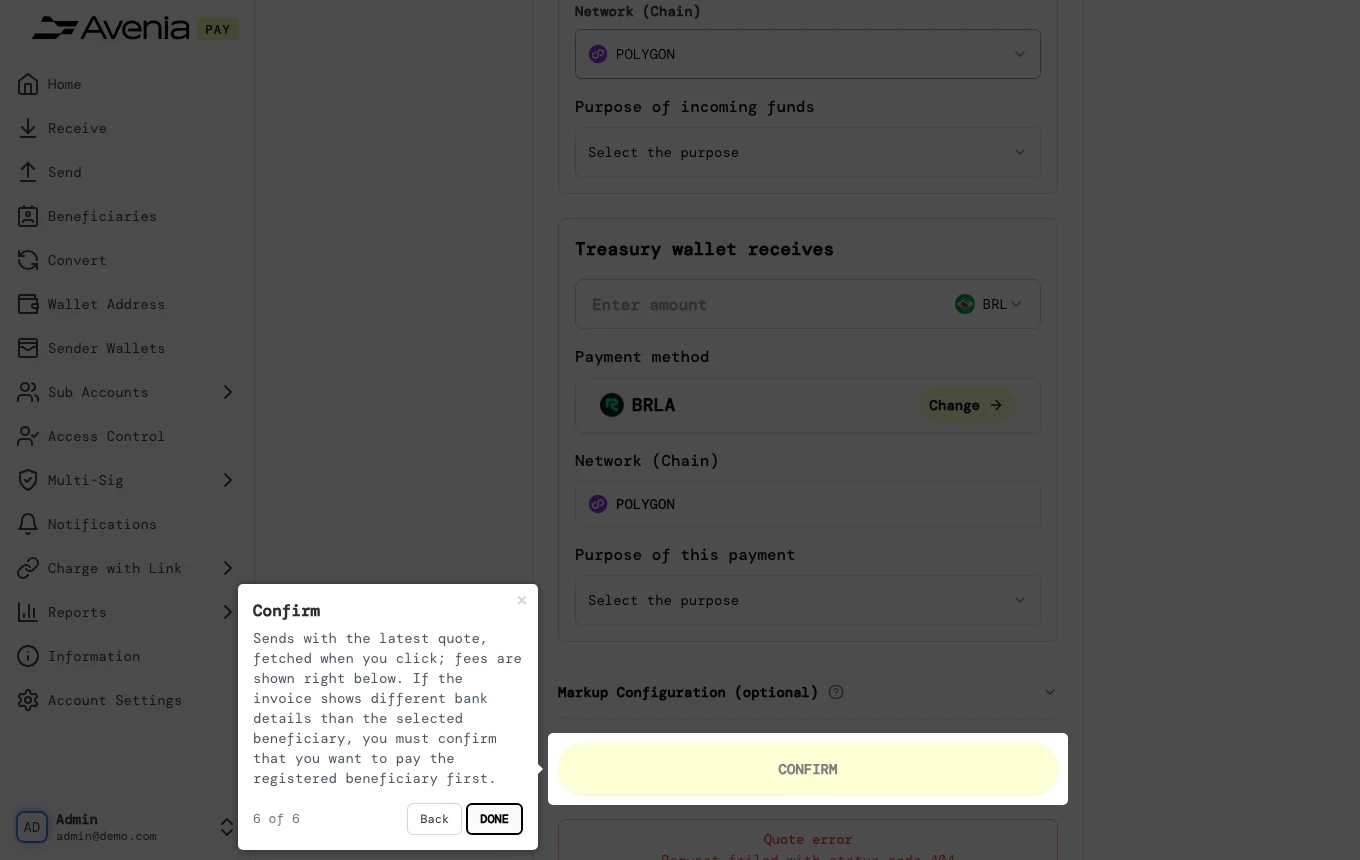
The Screen guide button at the top of this screen in the dashboard walks you through the same steps over your own data.