Send: choose the recipient
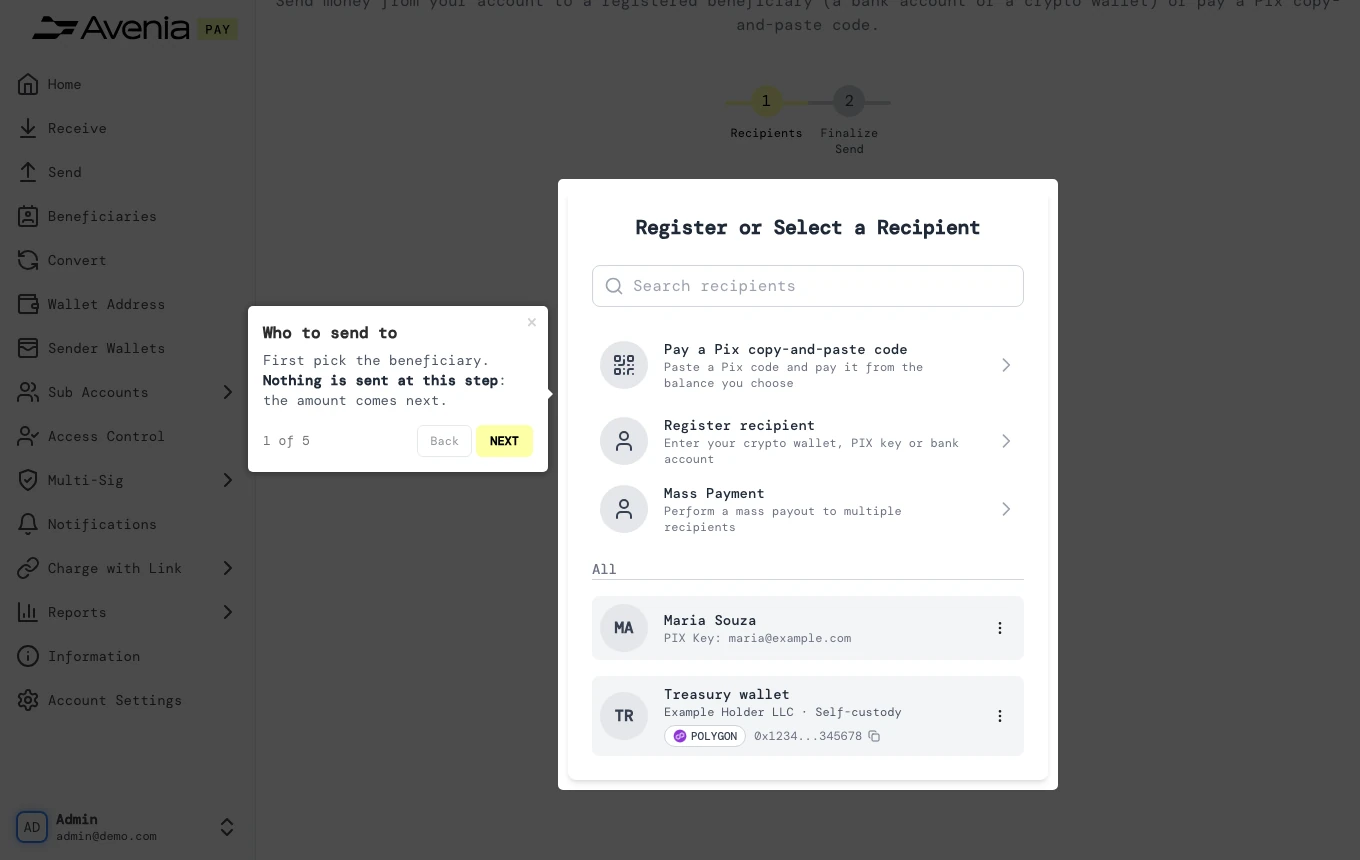
First pick the beneficiary. Nothing is sent at this step: the amount comes next.
- Where: Side menu → Send.
- Who can use it: the account administrator and accesses allowed to send.
Step by step
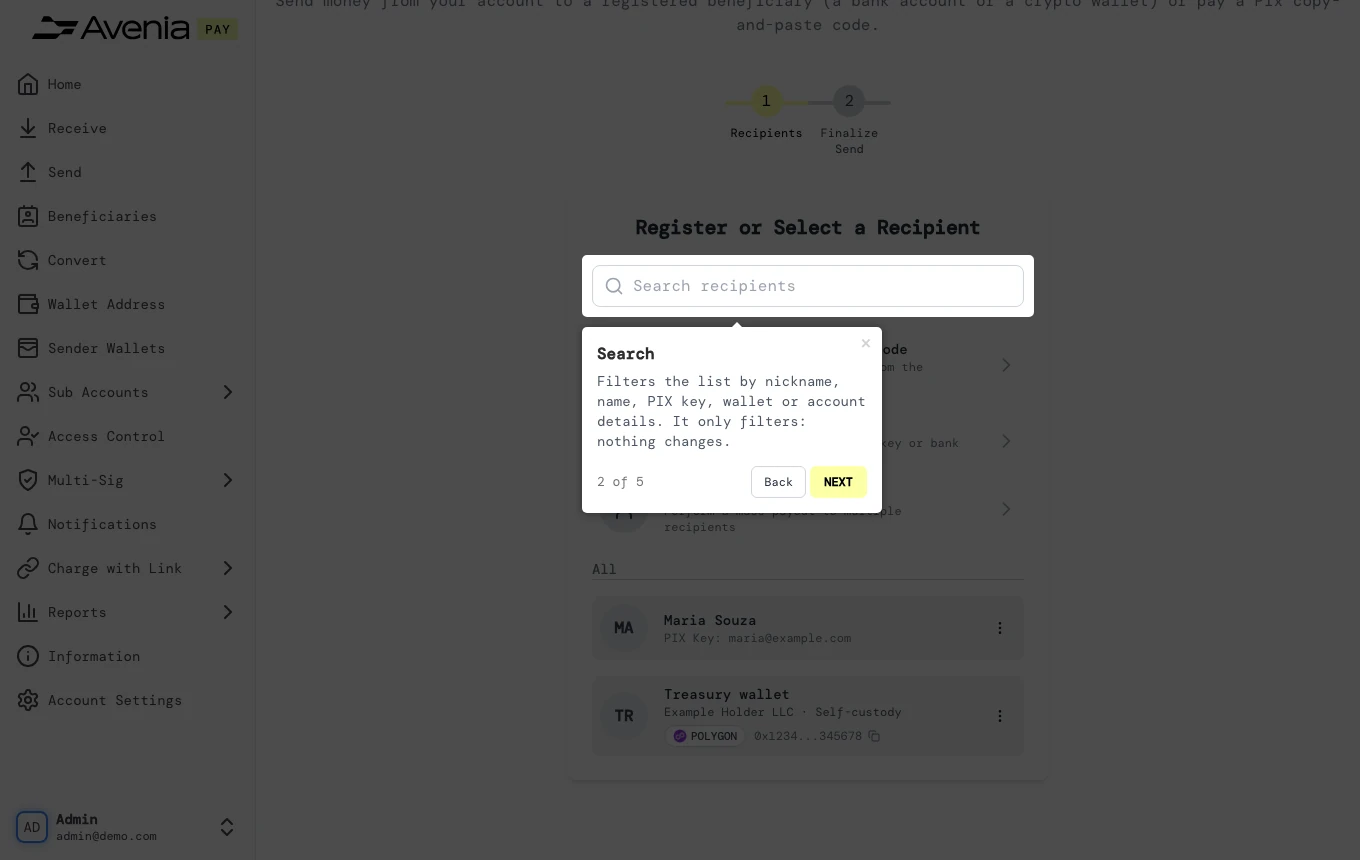
1. Search
Filters the list by nickname, name, PIX key, wallet or account details. It only filters: nothing changes.
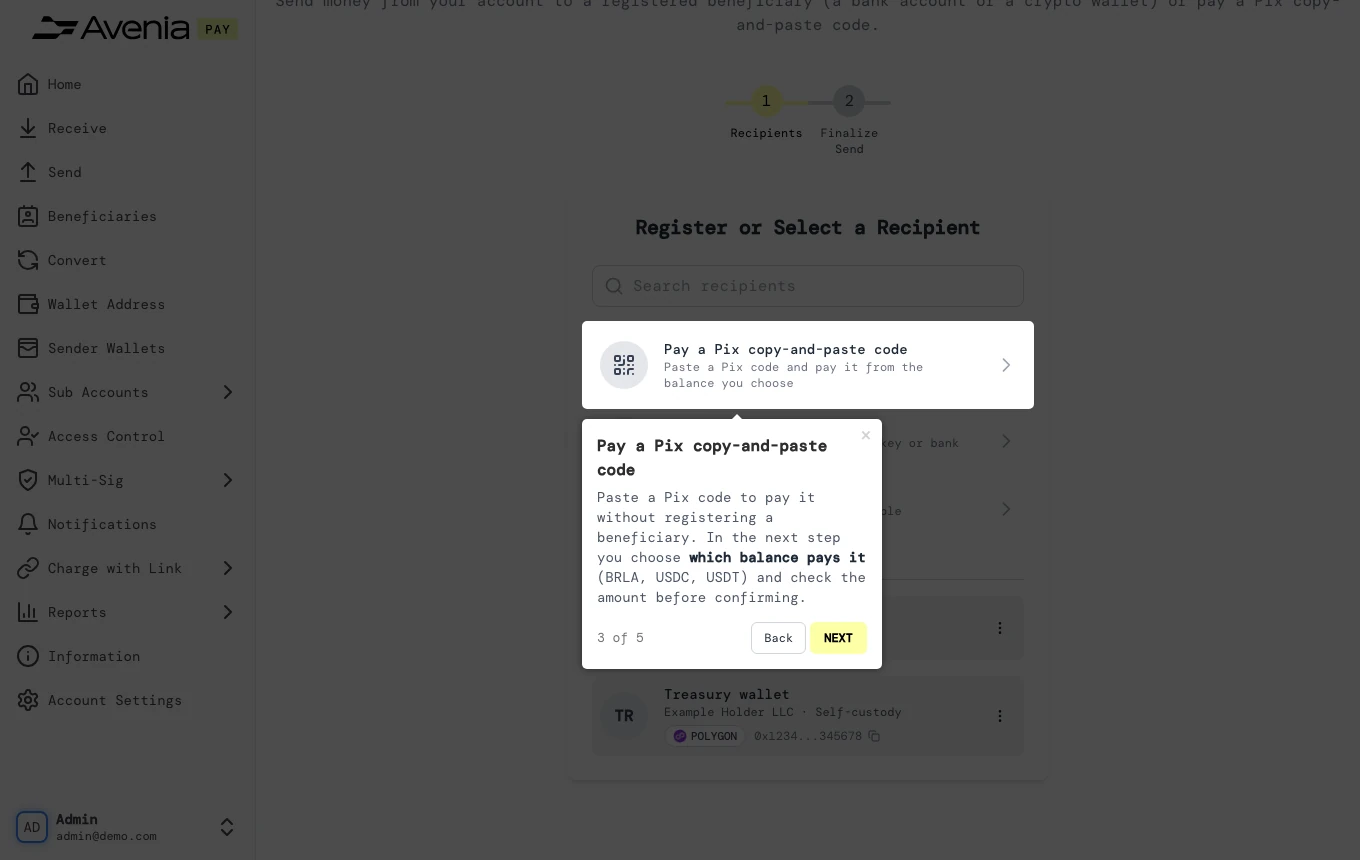
2. Pay a Pix copy-and-paste code
Paste a Pix code to pay it without registering a beneficiary. In the next step you choose which balance pays it (BRLA, USDC, USDT) and check the amount before confirming.
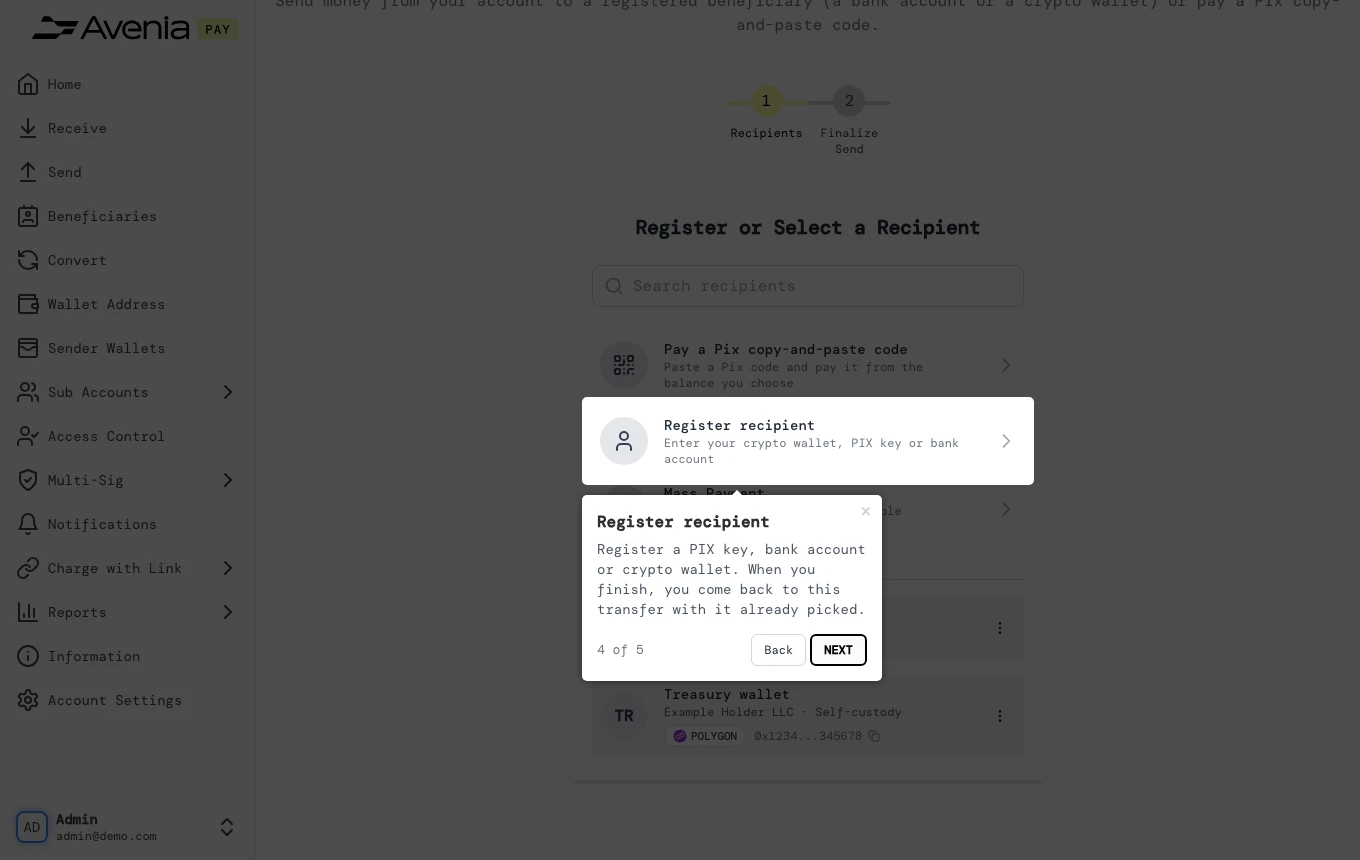
3. Register recipient
Register a PIX key, bank account or crypto wallet. When you finish, you come back to this transfer with it already picked.
4. Your beneficiaries
Click a beneficiary to move on to the amount. A wallet with the Qualification pending badge may first ask for its holder's details; with Skip and qualify later, the send goes on just the same. In each one's ⋮ menu, Delete removes it right away, without asking for confirmation.
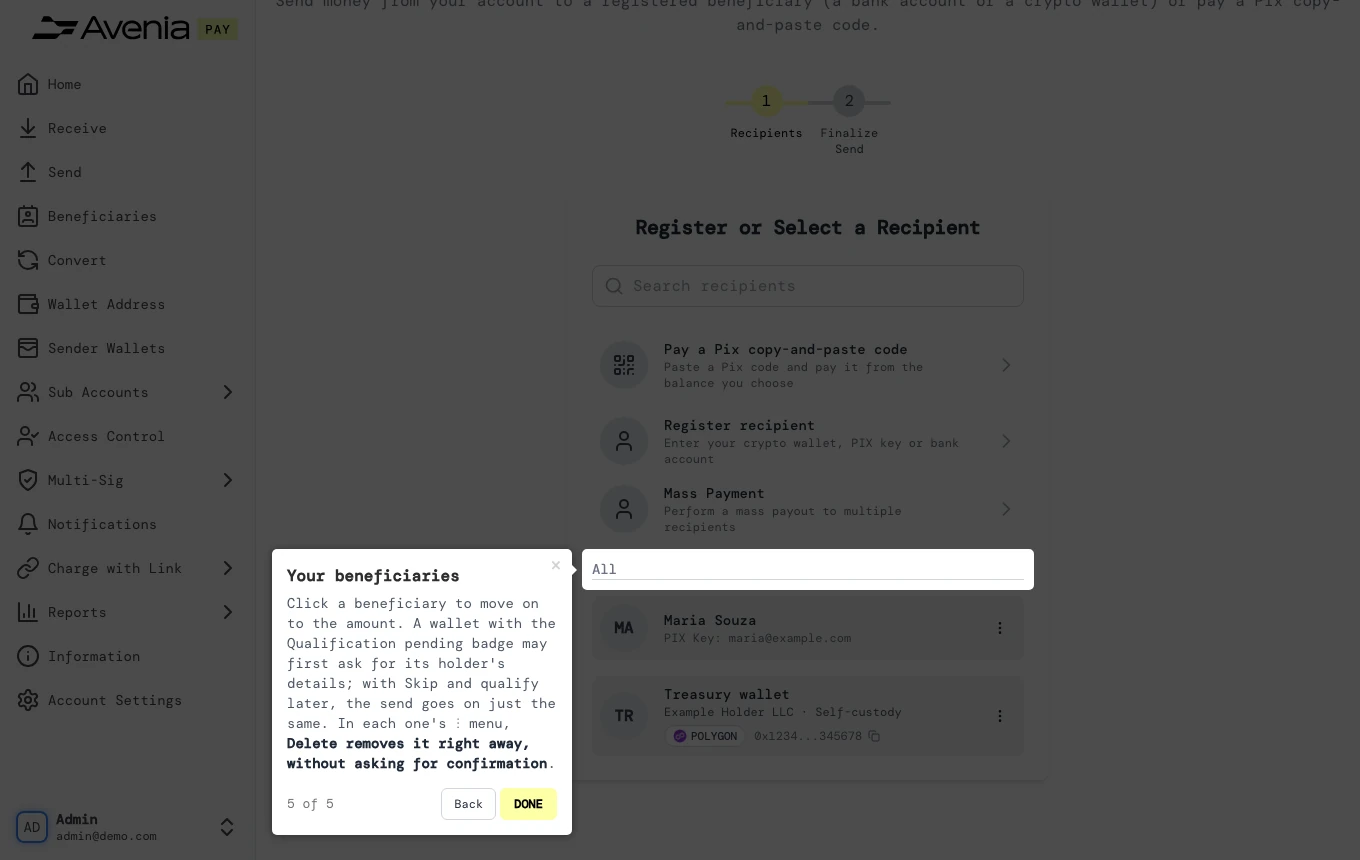
The Screen guide button at the top of this screen in the dashboard walks you through the same steps over your own data.