Create Controlled Access Account
The access only works once the person confirms the sign-up through the link sent to their email.
- Where: Opens from Create Controlled Access Account on Access Control.
- Who can use it: the account administrator and access managers.
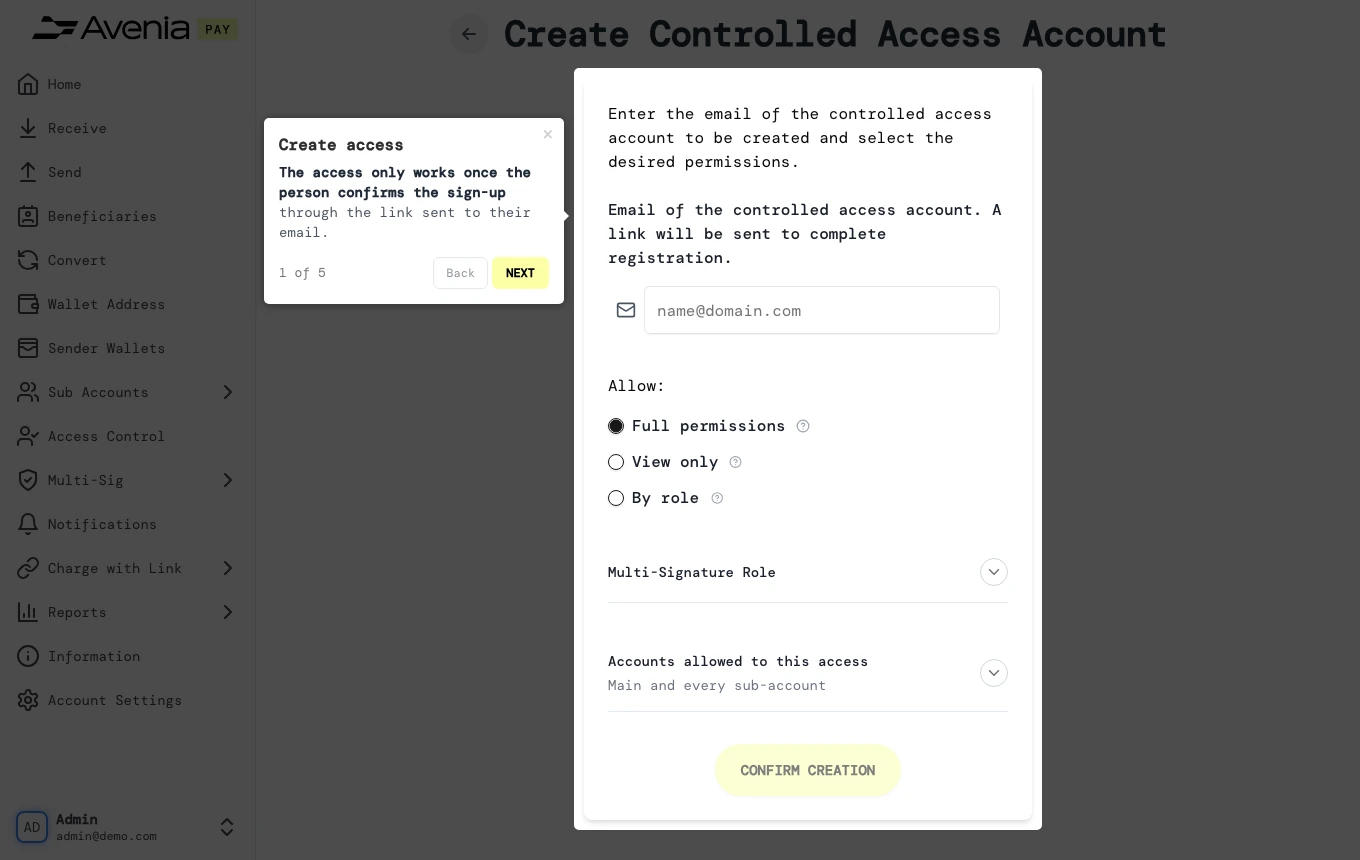
Step by step
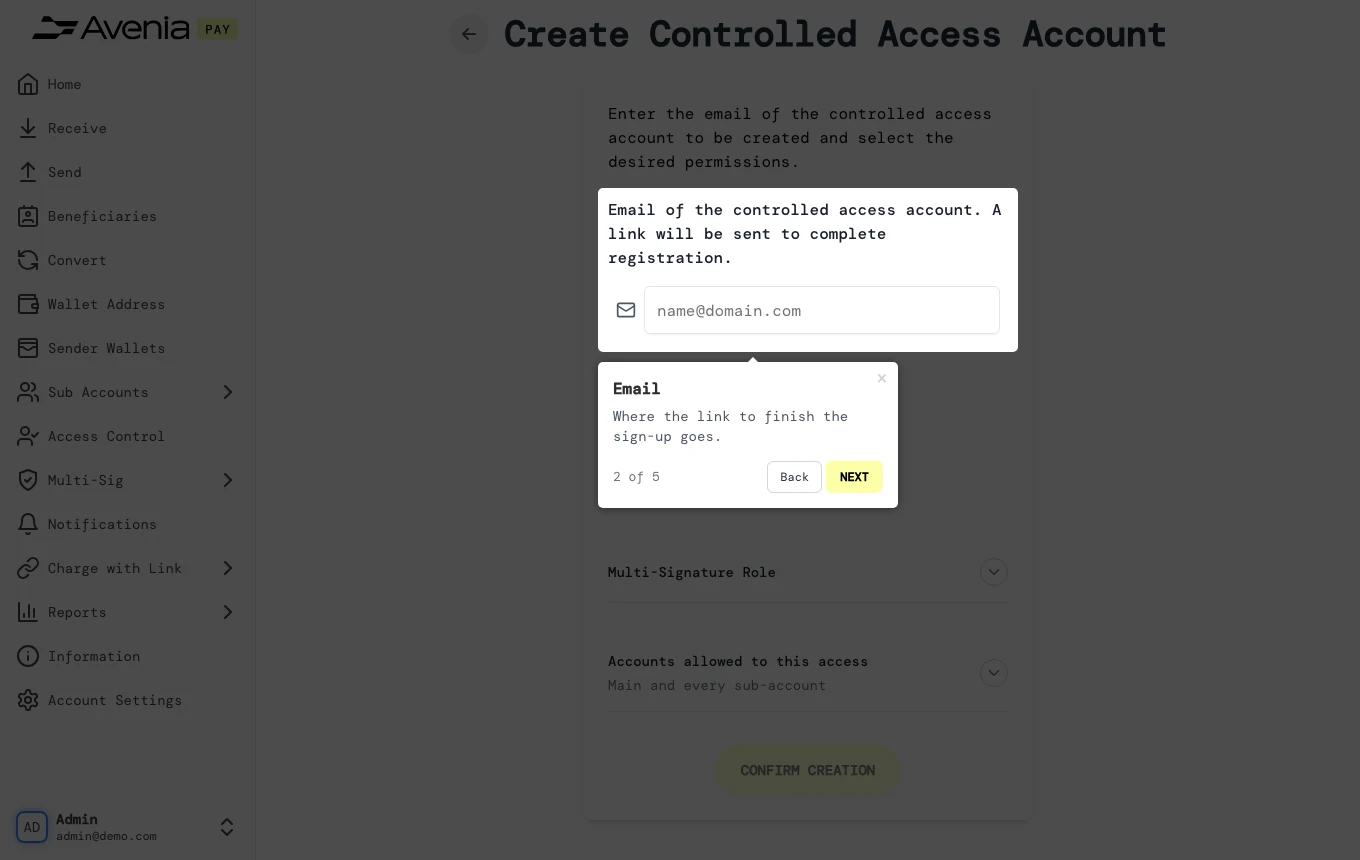
1. Email
Where the link to finish the sign-up goes.
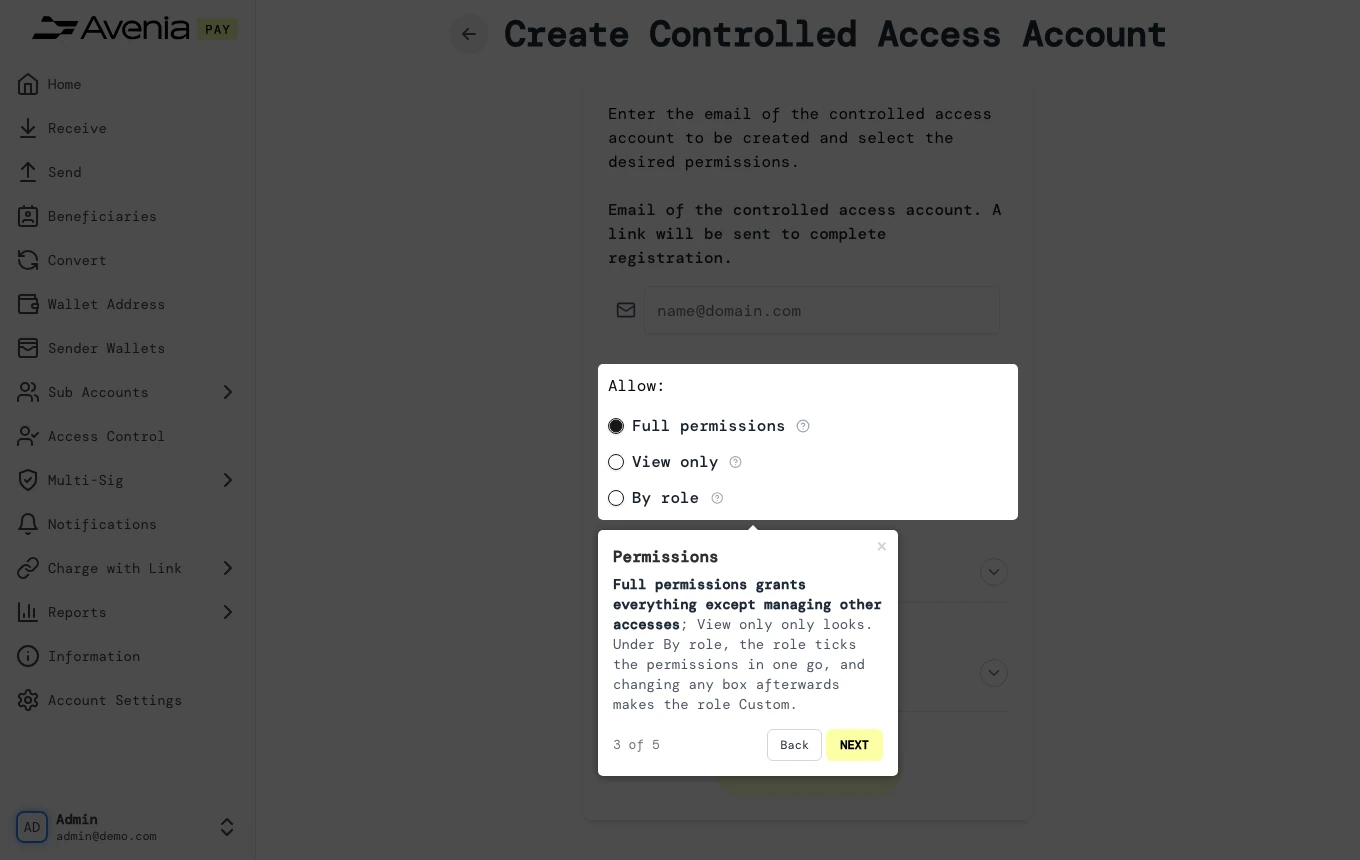
2. Permissions
Full permissions grants everything except managing other accesses; View only only looks. Under By role, the role ticks the permissions in one go, and changing any box afterwards makes the role Custom.
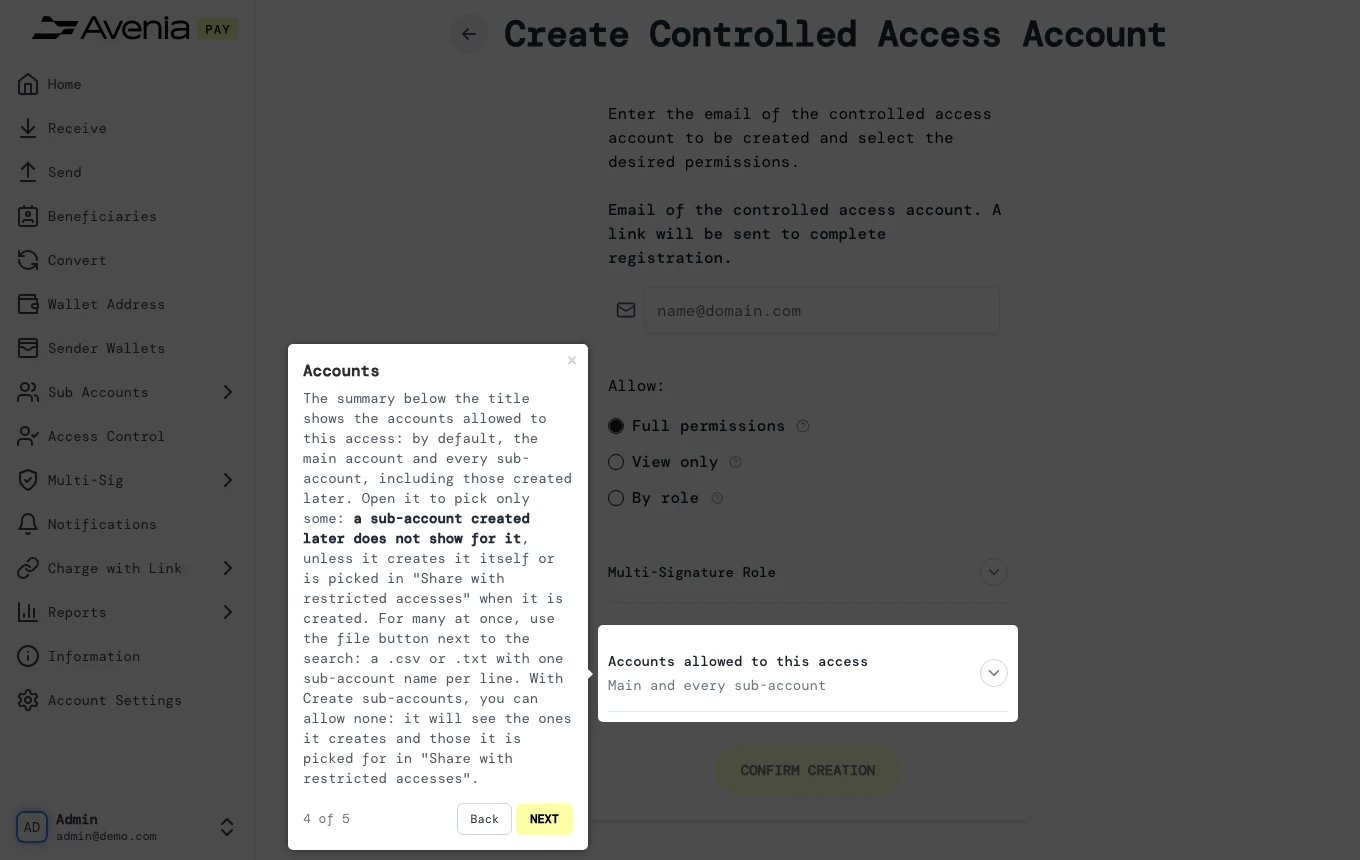
3. Accounts
The summary below the title shows the accounts allowed to this access: by default, the main account and every sub-account, including those created later. Open it to pick only some: a sub-account created later does not show for it, unless it creates it itself or is picked in "Share with restricted accesses" when it is created. For many at once, use the file button next to the search: a .csv or .txt with one sub-account name per line. With Create sub-accounts, you can allow none: it will see the ones it creates and those it is picked for in "Share with restricted accesses".
4. Confirm
Asks for your authenticator code. Disabled if you do not have two-factor authentication on.
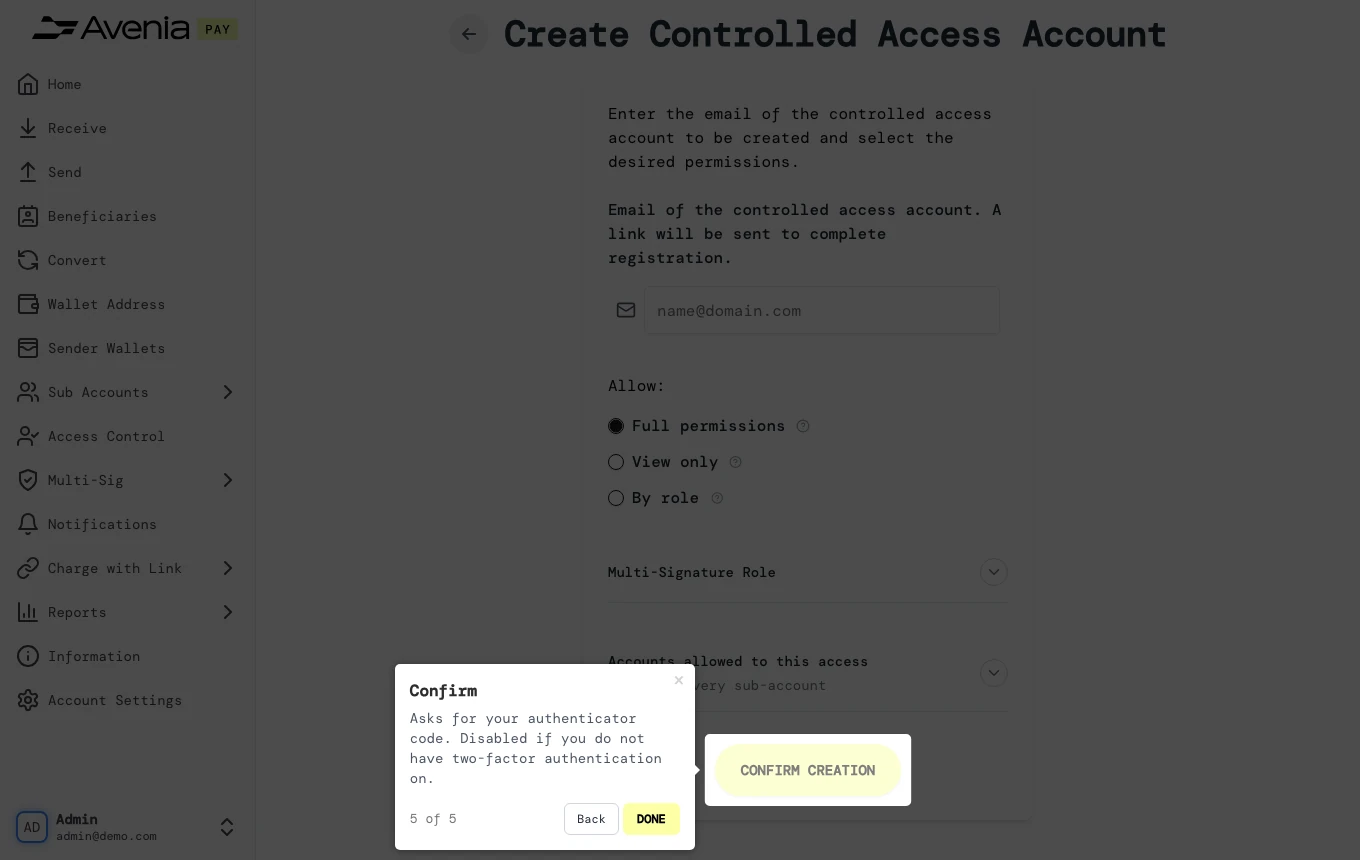
The Screen guide button at the top of this screen in the dashboard walks you through the same steps over your own data.